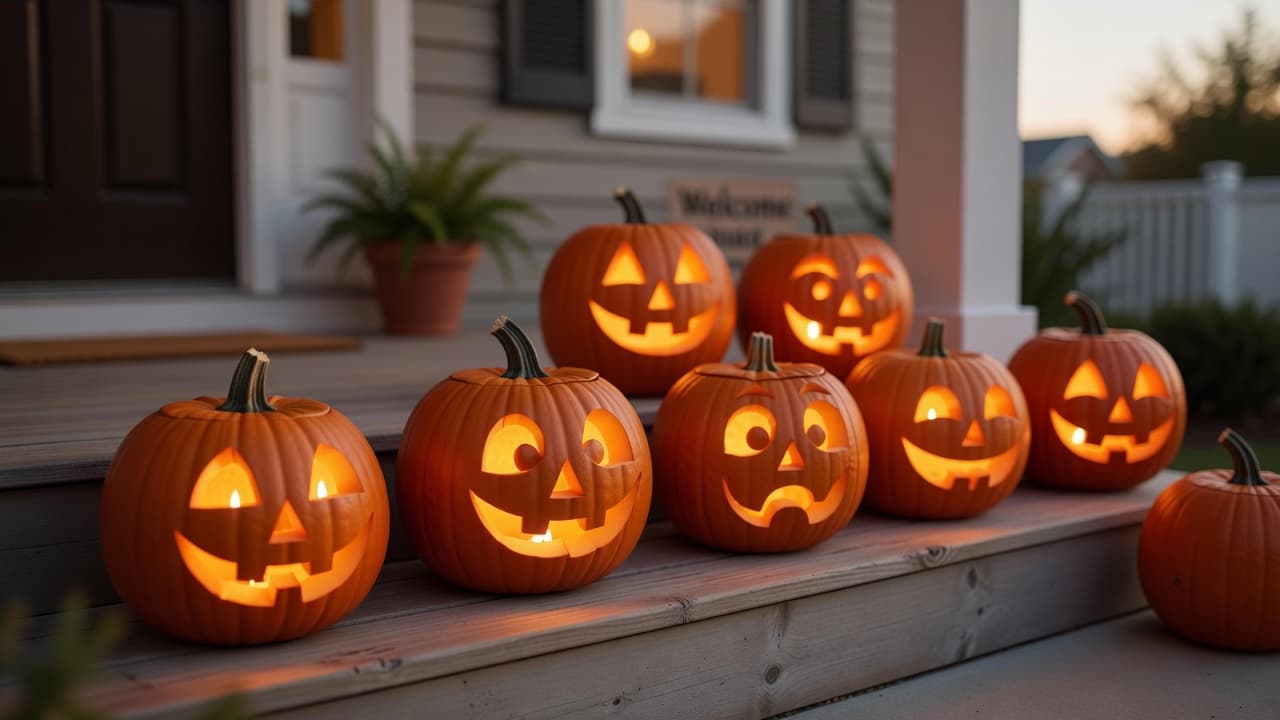
The night before the office party you pull a medium pumpkin from the grocery bag and set it on the counter next to a stack of yesterday’s newspaper. Three kids already asked what face it will have and the carving knife is still in the drawer. You want a clean design that finishes before bedtime without testing three pumpkins first. Simple patterns with clear transfer steps and basic scooping techniques keep the project to one gourd and under ninety minutes. The same approach works when the doorbell rings with last-minute trick-or-treaters or when the school asks for a porch display by Friday. Concrete choices like a three-triangle face or a single crescent moon cut with a serrated blade give sharp results the first time. This page shows exactly which tools, transfer methods, and finishing steps deliver that result without extra fruit or wasted evening hours.
👉 This guide is for adults carving one pumpkin the night before an event who want a finished design on the first try without testing multiple gourds.
easy pumpkin carving ideas
Begin with a three-triangle face that uses only straight cuts and fits a ten-inch pumpkin. Trace the pattern onto paper, tape it to the rind, and poke holes every quarter inch along the lines with a pushpin. Remove the paper and connect the dots with a serrated knife held at a slight angle so the opening tapers inward. Scoop out the seeds and stringy pulp until the wall thickness reaches about one inch; this prevents collapse while keeping the pumpkin light enough to carry. A single crescent moon design follows the same transfer method but requires only two cuts: one curved top edge and one straight bottom edge. Both patterns finish in under an hour and use no specialty blades. If the surface feels slick after carving, pat it dry with a paper towel before lighting. Place the finished pumpkin on a tray lined with aluminum foil to catch drips from the tea light inside. These two patterns alone cover most last-minute requests without needing extra pumpkins for practice.
pumpkin carving stencils
Stencils reduce guesswork because the lines are already drawn at the correct scale. Print a simple outline on standard letter paper, cut away the negative space with scissors, then tape the stencil flat against the pumpkin. Use a dry-erase marker to trace the openings directly onto the rind. Lift the stencil and follow the marker lines with a small serrated saw. One concrete advantage is that the same stencil can be flipped or rotated for a second pumpkin if you decide to make a pair. Keep the pumpkin’s stem centered when placing the stencil so the final carving sits upright on the porch. After carving, wipe away marker residue with a damp cloth before the design dries. Shop the look by picking up a basic stencil pack and a five-piece carving set at the craft store so you have matching tools for the next design.
pumpkin carving patterns for beginners
Start with patterns that contain fewer than ten separate cuts. A bat silhouette uses four straight lines for the body and two curved lines for the wings. Transfer the outline the same way as the triangle face, then cut from the center outward to avoid cracking the rind. A ghost shape needs only three cuts total: a rounded head and two flowing sides. Both patterns stay visible from the street when lit from inside with a battery tea light. Count the cuts before you begin so you know the project will finish before the kids’ bedtime. If a cut wanders off the line, stop and recut from the opposite direction rather than forcing the blade. These beginner patterns require only the basic tools already in most kitchens and produce clean edges on the first attempt.
how to transfer pumpkin carving designs
The transfer step determines whether the finished carving matches the picture you chose. Print the design at the exact size of your pumpkin, not larger. Tape the paper so it lies smooth without wrinkles. Poke holes at half-inch intervals along every line using a thumbtack. Remove the paper and connect the dots with a fine-tip marker that wipes off later. This method works on both smooth and slightly ribbed pumpkins because the dots follow the surface contour. For designs with many small details, number the dots on the paper first so you reconnect them in the right order after the paper is gone. The entire transfer takes ten minutes and eliminates the need to redraw freehand. Once the lines are marked, begin cutting at the largest open area and work toward the smaller details so the pumpkin stays stable on the table.
pumpkin carving tips to avoid mistakes
Cut at a forty-five-degree angle instead of straight down so the lid and pieces fit back in place if needed. Work with the pumpkin sitting on a towel to keep it from rolling. If the knife binds, pull it straight out and start again rather than twisting. Keep a bowl of water nearby to rinse the blade between cuts so pulp does not build up. These small habits prevent the most common first-time errors that force people to start over with a second pumpkin. After all cuts are complete, gently push the pieces out from the inside rather than prying from the outside. The result is a clean edge that lights evenly and lasts through the evening without extra repairs.
One-pumpkin finish
The patterns and transfer steps shown here complete a presentable carving on the first gourd, so no spare pumpkins are needed for testing.
Under ninety minutes
Each design uses fewer than ten cuts and a simple hole-transfer method that finishes before an evening event starts.
Kitchen tools only
A serrated knife, pushpin, and marker already in most drawers replace specialty kits for these beginner patterns.
Street-visible results
The triangle face and crescent moon designs remain clear from the sidewalk when a single tea light is placed inside.
How to Get Started, Step by Step
- 1
Pick the pumpkin
Choose a ten-inch pumpkin with a flat base and no soft spots so it sits steady and lasts through the evening.
- 2
Gather tools
Set out a serrated knife, pushpin, marker, spoon, and newspaper before the pumpkin is opened to keep the process moving.
- 3
Transfer the design
Tape the printed pattern, poke holes every half inch, then connect the dots with the marker for an accurate cutting guide.
- 4
Cut and clean
Follow the lines at a slight angle, remove the pieces from inside, and scoop until the wall is one inch thick.
Shop it at Abracadabra NYC, the store behind this list:
Shop Halloween Props & Decor →
💡 Most roundups skip that you should wear gloves when scooping to avoid skin irritation from prolonged contact with the pulp enzymes.
Frequently Asked Questions
how to carve a pumpkin step by step+
Trace a simple pattern onto the rind with a marker after transferring it with pin holes. Cut along the lines at a slight angle using a serrated knife. Scoop out the seeds and pulp until the wall is roughly one inch thick. Place a tea light inside and set the pumpkin on a foil-lined tray. The whole process takes under ninety minutes for the designs shown here.
what tools do I need for pumpkin carving+
A serrated knife, pushpin or thumbtack, dry-erase marker, large spoon, and newspaper cover every step of these patterns. No electric tools or specialty kits are required. Keep a bowl of water nearby to rinse the blade between cuts.
how long do carved pumpkins last+
A carved pumpkin lasts three to five days outdoors in cool weather when the cut surfaces are dried after carving. Indoors with a battery light it can stay presentable for a full week. Warm rooms shorten the time to two days before softening begins.
how to keep a carved pumpkin from rotting+
Dry the cut edges thoroughly with paper towels right after carving. Store the pumpkin in a cool spot away from direct sun. Avoid leaving a real flame inside for long periods. A light coat of petroleum jelly on the cut edges can add an extra day of firmness.
More Halloween Guides
- Halloween Costume Ideas
- Halloween History and Trivia
- Halloween House Decorating Ideas
- Halloween Jokes and Riddles
- Halloween Makeup and Face Paint Ideas
- Halloween Masks
- Halloween Movies
- Halloween Nail Art
- Halloween Party Ideas
- Halloween Pranks and Gag Gifts
- Halloween Props & Decorations
- Halloween Wigs
- Pet Halloween Costumes
- Trick or Treat Guide