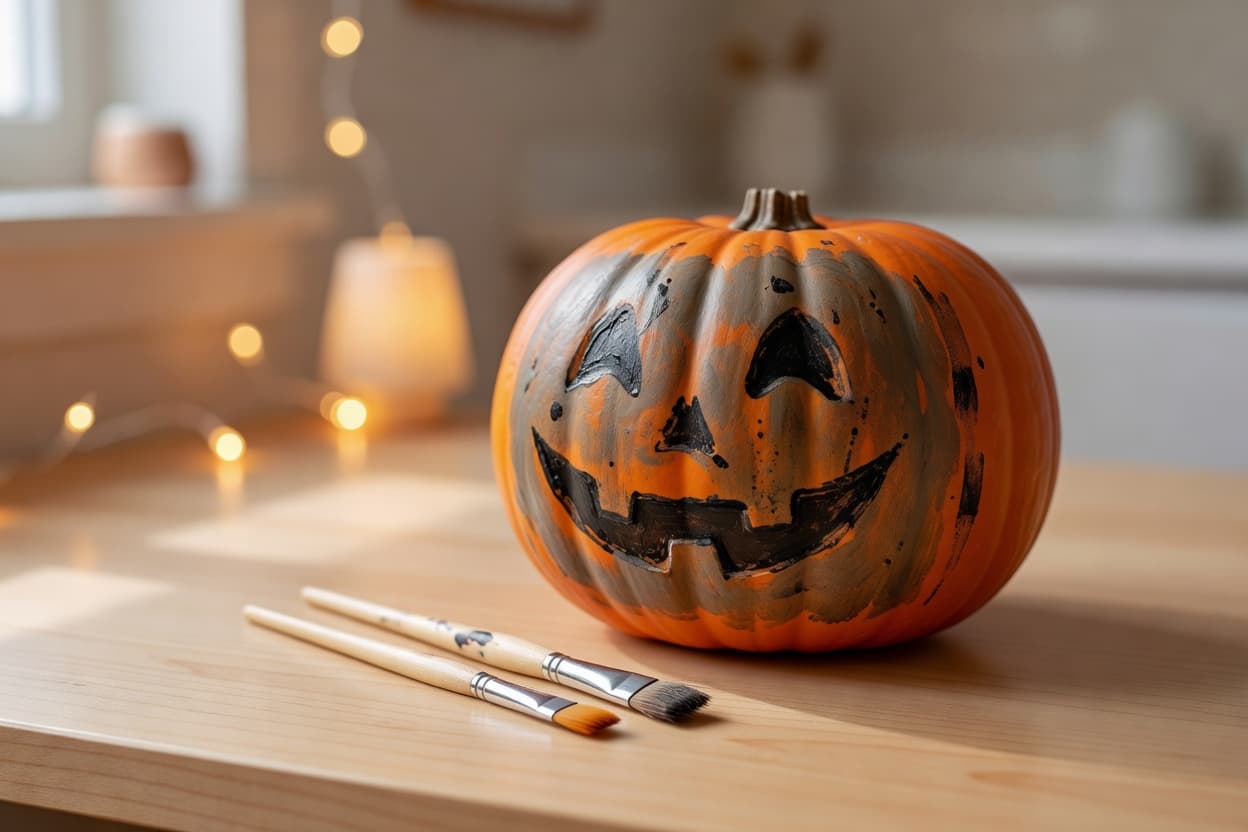
Fifteen minutes and three shades of acrylic paint can give a pumpkin the look of deep carving grooves without a single cut. Most people grab a knife and end up with three ruined gourds before the design clicks, but layering thin black and gray washes over a base coat creates shadow lines that read as carved from across the room. The technique stays simple: one base color, two accent tones, and a dry brush for highlights. No specialty tools needed beyond a couple of flat brushes and a paper towel for blending. This approach keeps the pumpkin intact for weeks instead of days and works on both real and foam versions. The result photographs well for contest entries because the depth reads in photos even under indoor lights.
scary pumpkin painting ideas
Start with a smooth orange pumpkin and apply a coat of white acrylic as the base for contrast. Once dry, sketch the face outline in pencil, then fill the eye sockets and mouth with black acrylic mixed with a drop of blue for a deeper tone. Add gray acrylic along the edges of each black area using a dry brush to create the illusion of carved depth in under twenty minutes. For extra scare factor, dab diluted black around the stem to suggest cracks. This design takes roughly forty minutes total and requires only two layers of paint so it dries fast enough to move the pumpkin indoors before sunset. The same method works on smaller pie pumpkins for a cluster display on a porch step.
pumpkin decorating ideas for contest
Contest judges notice clean lines and realistic shadows, so focus on a single large motif like a haunted house silhouette. Paint the pumpkin surface with a warm orange acrylic base, let it set for ten minutes, then block in the house shape with black. Use a thin gray wash along the roofline and window edges to fake carved depth without extra coats. Add a tiny white highlight on one window to suggest light inside. The whole piece finishes in about an hour and stays under three total layers so the surface stays matte instead of glossy. Bring a photo of the unpainted pumpkin with your entry to show the transformation, since many judges award points for technique over sheer size.
pumpkin designs paint
Try a geometric pattern of overlapping triangles that look etched rather than drawn. Begin with the orange base, then tape off every other triangle and fill the rest with black acrylic. Remove the tape while the paint is still tacky, then run a small amount of gray along the edges with a fine brush to give the black sections the appearance of recessed cuts. The pattern covers a medium pumpkin in roughly fifty minutes and uses only household painter’s tape for sharp borders. Because the design repeats, small mistakes blend into the overall look. Display it on a dark tablecloth so the gray highlights pop under string lights.
pumpkin painting ideas
A two-tone ombre fade from deep orange at the bottom to pale yellow near the stem gives the surface dimension before any details are added. Apply the base colors in two thin coats, blending where they meet with a damp sponge. Once dry, paint a simple bat shape in black and soften its edges with gray to suggest carving. The full process uses four acrylic colors total and takes about thirty-five minutes of active work plus drying time. This style photographs cleanly from multiple angles, which helps when the contest requires a 360-degree view. Keep the top third of the pumpkin free of heavy paint so the stem stays natural looking.
Quick Tips
- ✓Let the base coat dry for a full twenty minutes before adding shadow layers so the gray does not lift the color underneath.
- ✓Use a flat synthetic brush two inches wide for base coats and switch to a half-inch angled brush for the depth lines to keep edges crisp.
- ✓Work in a single session rather than spreading the job over two days, because acrylic skins over and blending becomes harder after the first hour.
- ✓Store leftover mixed gray paint in a small lidded jar so you can touch up any scuffs before the contest without remixing shades.
- ✓Test the full color stack on the bottom of the pumpkin first to confirm the gray reads as shadow instead of just another flat color.
Shop it at Abracadabra NYC, the store behind this list:
Shop Halloween Props & Decor →
🎯 If you only have one evening, buy a small set of acrylic paints and two brushes at the craft store instead of trying to improvise with house paint. The right consistency and quick dry time make the carved-depth effect reliable on the first try.
💡 Most roundups skip the step of blotting excess gray paint on a paper towel before applying shadow lines, which prevents the gray from turning the black areas muddy.
Frequently Asked Questions
how to paint pumpkins for Halloween+
Start with a dry pumpkin and apply a thin base coat of acrylic in your chosen color. Let it dry twenty minutes, then add black for main shapes and gray along the edges to create the look of carved depth. Finish with one highlight color using a dry brush. Keep layers thin so the surface stays matte and the design lasts through the month.
what paint works best on pumpkins+
Acrylic craft paint gives the best results because it adheres to both real and foam pumpkins and dries fast enough for layering the same day. Avoid latex house paint, which can crack when the pumpkin ages, and steer clear of oil-based paints that stay tacky for days. Two to three thin coats of acrylic are usually enough for full coverage without buildup.