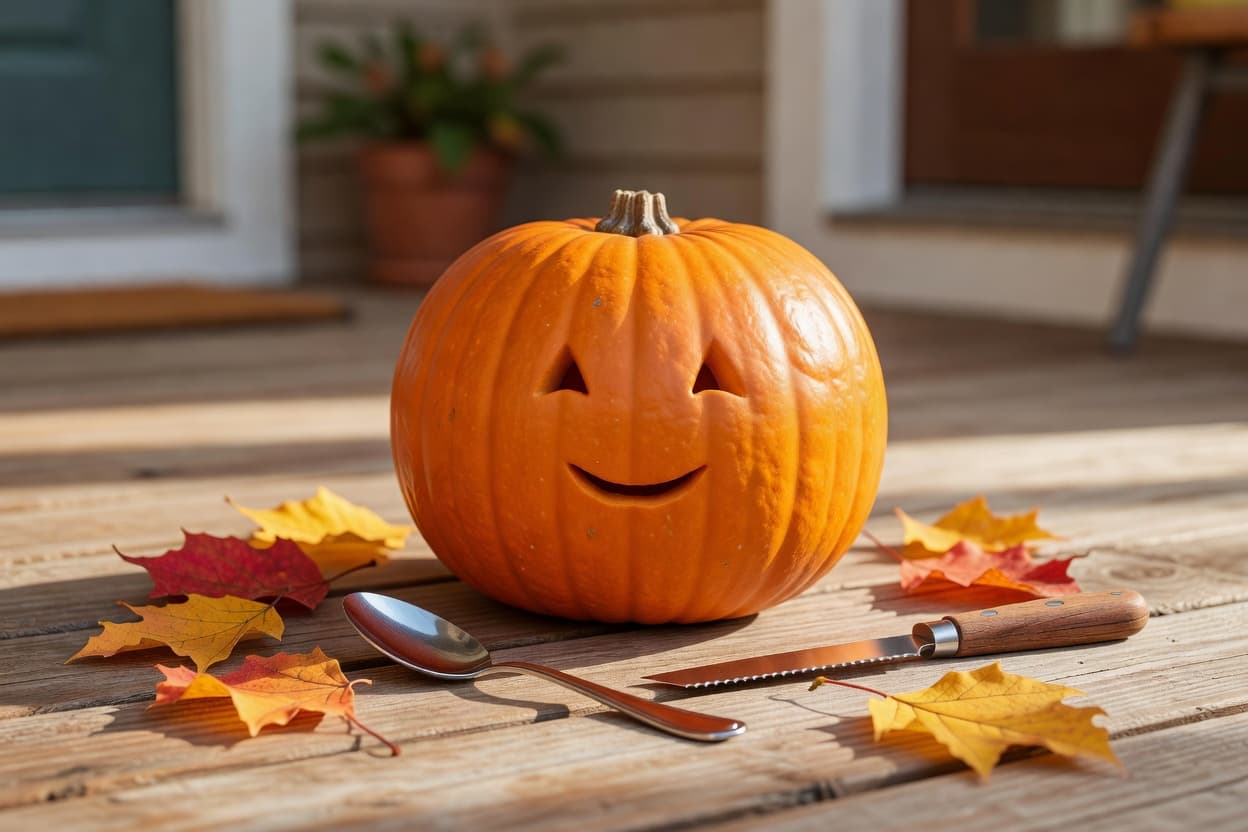
It's the night before Halloween and the office party starts in two hours, with three uncarved pumpkins staring you down on the kitchen counter. The doorbell has already rung twice from neighbors dropping off candy, and you need designs that look finished fast without wasting fruit or time on trial runs. Skip the fancy kits with dozens of tiny saws; these patterns stick to three to five cuts using a serrated kitchen knife, a metal spoon from the drawer, and a dry-erase marker for the outline. Each one finishes in under thirty minutes on a standard twelve-inch pumpkin, leaving the flesh thick enough to hold a tea light without collapsing. The results still read clearly from across a room, whether the pumpkins sit on your porch or line the break-room table.
easy pumpkin carving ideas with triangle eyes
Start with the classic face that uses exactly four cuts. Mark two triangles for eyes, each about two inches tall, and a wider triangle or square for the mouth. Cut along the lines with a serrated knife, then scoop out the seeds and strings through the mouth opening using the spoon. The whole job takes four cuts total and roughly fifteen minutes once the marker lines are down. Leave the stem intact so the lid sits flat later. This design works on any size pumpkin because the shapes scale without extra detail work. If the lines wobble, the simple geometry still reads as intentional from a distance.
simple bat pumpkin carving ideas
A single bat silhouette needs five cuts at most. Draw a crescent body first, then two angled wings that connect at the top. Cut the outer wing edges, then the inner V shapes that separate the wings from the body. Use the same serrated knife to keep edges clean on the rind. The design sits off-center so the pumpkin stem becomes the bat's head. It finishes in twenty minutes and stays legible even if the cuts aren't perfectly straight. Household painters tape can hold the stencil paper steady if you want to trace first, but the marker alone works for most people.
Three curved cuts create a floating ghost. Outline a rounded top and two trailing bottom edges that wave once each. Cut along the curves, then remove the small interior pieces with the tip of the knife. The remaining rind gives the ghost shape without any drilling or scraping inside the lines. This one takes about twelve minutes and looks finished on both orange and white pumpkins. Keep the mouth area narrow so the light shines through clearly once the candle is lit.
basic moon and stars pumpkin carving ideas
A crescent moon plus two small stars uses four cuts total. Draw the moon first as a thick C shape, then two five-point stars beside it. Cut the outer moon edge, the inner edge, and the star outlines. The negative space between the moon arms lets light through without extra holes. The pattern finishes in eighteen minutes on a medium pumpkin and balances well when placed near the stem. No interior scraping is required beyond the initial seed removal.
Quick Tips
- ✓Mark every cut with a dry-erase marker first so you can wipe and redraw without staining the rind.
- ✓Work on a baking sheet lined with newspaper so seeds and pulp stay contained for easy cleanup.
- ✓Save the scooped seeds in a bowl of water; they roast at 350 degrees for twenty minutes with salt.
- ✓Place the finished pumpkin on a small plate to catch wax drips instead of setting it directly on wood or fabric.
- ✓If the rind feels too thick, thin the inside wall to half an inch behind the design only, not the whole pumpkin.
Shop it at Abracadabra NYC, the store behind this list:
Shop Halloween Props & Decor →
🎯 These four designs keep the cut count low and the tools ordinary, so one pumpkin usually succeeds on the first try. If household knives feel awkward or time is tighter than expected, a basic serrated carving set from the grocery aisle costs less than replacing a ruined pumpkin.
💡 Most roundups never mention that the scooped-out pumpkin flesh can be roasted into cubes for soup instead of being thrown away with the seeds.
Frequently Asked Questions
what are the easiest pumpkin carving designs+
The easiest designs use three to five straight or gently curved cuts that form simple shapes like triangles, crescents, or basic silhouettes. These patterns need only a kitchen knife and spoon, finish in fifteen to twenty minutes, and stay readable without perfect precision. Beginners succeed because the shapes do not require thin details or stencil transfer. The triangle face, bat outline, and crescent moon all meet that standard.
can beginners carve pumpkins without stencils+
Yes, beginners can carve pumpkins without stencils by drawing directly on the rind with a dry-erase marker and following the lines with a serrated knife. The marker wipes clean if the first sketch needs adjustment. Simple geometric shapes such as triangles or moons require no printed guide because the outlines are easy to freehand. This method keeps the process to household items and avoids the extra step of taping paper templates.