It's the night before the office Halloween party and the doorbell has already rung twice from early trick-or-treaters. You have one pumpkin on the counter and no time for three failed attempts that end up in the trash. The designs here use bold outlines and large negative spaces so the face reads clearly from the driveway or the break room table. Skip the tiny teeth and layered shading that only show up in photos. Instead focus on shapes that hold their impact under porch lights or fluorescent bulbs. Each option uses basic kitchen tools and takes under ninety minutes from start to finish. The goal is a finished pumpkin that still looks intentional even if your knife slips once or twice.
scary pumpkin carving ideas that read from a distance
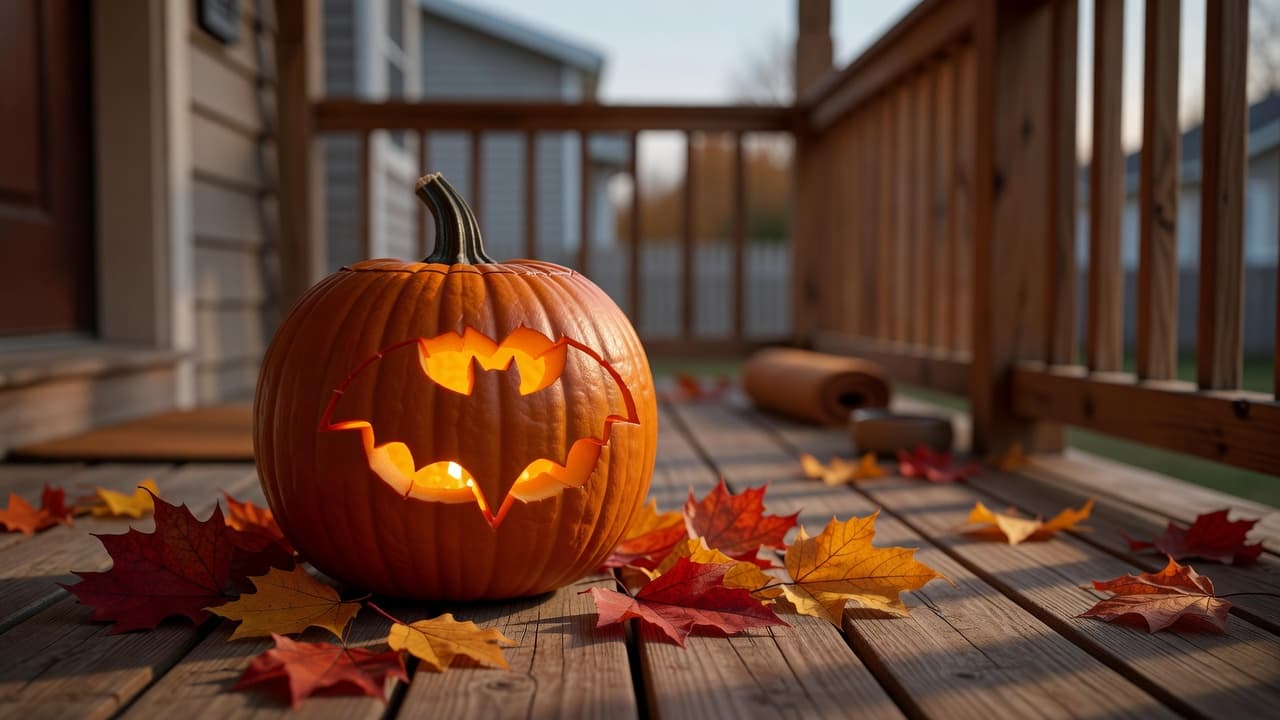
Start with a classic wide-mouthed bat. Draw two large triangles for ears and a simple body shape that spans most of the pumpkin's face. Use a serrated knife to cut the outline in one continuous pass, removing the black sections so light pours through. This takes about forty minutes on a medium pumpkin and needs no inner detail lines. The shape stays recognizable even when the pumpkin sits on a porch ten feet away. If freehand drawing feels risky, trace the outline from a printed template onto transfer paper first. The bat works on both tall and round pumpkins because the wings stay wide rather than tall.
creepy pumpkin carving ideas with minimal cuts
A single large skull face uses only five cuts total. Cut two oval eye sockets the size of a tennis ball, one triangular nose, and two rows of three rectangular teeth. Leave the rest of the surface uncarved so the light creates strong contrast. This pattern finishes in under an hour and stays legible from across a room because the shapes are big and separate. A serrated pumpkin saw from a basic carving kit keeps edges clean without crumbling the rind. Skip any shading or extra lines around the jaw; they disappear under low light anyway.
spooky pumpkin carving ideas for beginners
Try a ghost with two oversized circular eyes and a wavy bottom edge. The body is one tall oval that covers most of the pumpkin. Cut the eyes first, then the bottom wave so the piece lifts out in one motion. Total time is roughly thirty-five minutes. The design needs no mouth or extra folds because the floating eyes already read as spooky from the sidewalk. Use a dry-erase marker to sketch the shape so mistakes wipe off before the first cut. This pattern works especially well on shorter, wider pumpkins that sit low on a table.
scary halloween pumpkin carving ideas with bold outlines
A cat silhouette uses three pieces: two pointed ears, two round eyes, and a single curved mouth line. Remove only those sections and leave the nose area intact. The whole face carves in twenty-five minutes once the outline is marked. Bold, separated shapes keep the cat visible even when the pumpkin sits on a front step with competing decorations nearby. A plastic scraping tool from a five-dollar carving set smooths the edges without extra knife work. The pattern stays simple enough that one slip does not ruin the whole look.
Quick Tips
- ✓Mark your design with a dry-erase marker so you can wipe and redraw without wasting pumpkin surface.
- ✓Cut the largest shapes first so the pumpkin stays stable while you work on smaller details.
- ✓Place a battery tea light inside before final cuts to check how the design reads in actual darkness.
- ✓Keep a bowl of water nearby to rinse your knife between cuts and prevent pulp from sticking.
- ✓Choose a pumpkin with a flat bottom so it sits straight without rocking on the display table.
Shop it at Abracadabra NYC, the store behind this list:
Shop Halloween Props & Decor →
🎯 Pick one of the four patterns and finish it the night before you need it. If you want the same clean look without any knife work, grab a set of pre-cut stencils at a craft store and trace them onto the pumpkin instead.
💡 Most roundups skip the fact that battery lights inside the pumpkin make the design look twice as sharp after dark compared with real candles.
Frequently Asked Questions
how to make a scary pumpkin face+
Draw one large shape for the mouth and two big eye holes first. Remove those sections with a serrated knife so light shines through clearly. Keep every cut at least two inches wide so the face reads from across the room. Work on a stable surface and check the design with a light inside before you finish the last cuts. This approach takes under an hour and avoids the tiny details that collapse or look messy.
what are the scariest pumpkin carving patterns+
Large bat wings, a wide skull, and a simple ghost with oversized eyes rank highest because they use negative space instead of fine lines. These patterns stay visible under porch lights or from a car window. They need only five to seven cuts total and finish in thirty to sixty minutes. Avoid crowded teeth or layered shading that disappear in real lighting conditions.